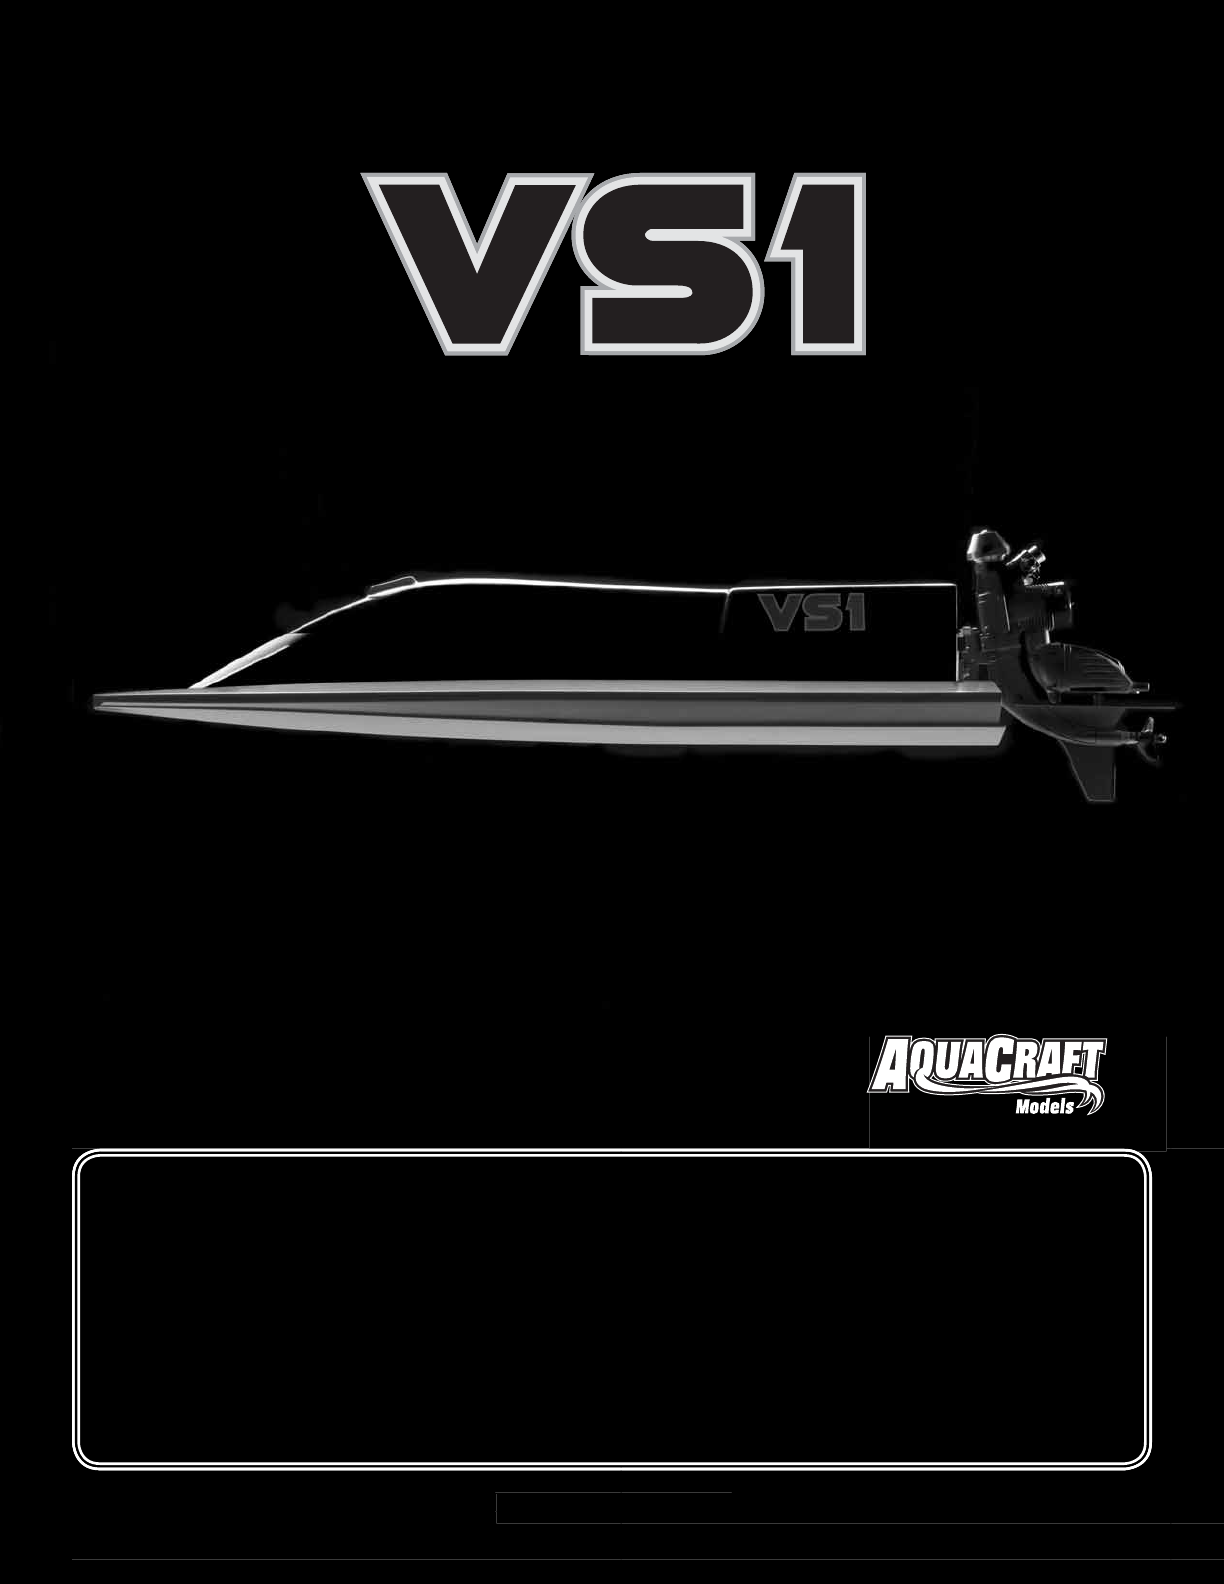
Aquacraft VS1 User Manual
Browse online or download User Manual for Water equipment Aquacraft VS1. AquaCraft VS1 User Manual
- Page / 20
- Table of contents
- BOOKMARKS
- WARNING: 1
- ITEMS INCLUDED 2
- WARRANTY 2
- ASSEMBLY 5
- TRAY AND SERVOS 6
- INSTALLING THE ENGINE 9
- INSTALLING THE FUEL TANK 10
- INSTALLING THE THROTTLE CABLE 12
- POWER UP AND FINAL SET UP 13
- PAINTING TIPS 14
- LAUNCH PROCEDURE 15
- ENGINE MAINTENANCE 15
- CARE AND MAINTENANCE 16
- HULL TUNING TIPS 16
- DRIVING AND RACING TIPS FROM 17
- 12-TIME NATIONAL AND 17
- WORLD RACING CHAMPION 17
- Precision Prop Balancer 18
- ENGINE MOUNT TEMPLATE 19
- COPYRIGHT © 2008 20
- AQUB0006MNL v1.0 20
Summary of Contents
www.aquacraftmodels.comwww.aquacraftmodels.comwww.aquacraftmodels.comWARNING:• Never attempt to swim after a stalled R/C boat. • Never operate your
104. Next, epoxy the front (longer) upright into the base.5. To help strengthen the area that the O-rings attach to, it is a good idea to place a few
11INSTALLING THE STEERING CABLE SYSTEMParts and tools you are going to need:Assembled pull-pull wheel Safety glasses/gogglesTwo clevises (VS1 Kit) S
12INSTALLING THE THROTTLE CABLEParts and tools you are going to need:Outer white sheath (VS1 Kit)Inner metal cable (VS1 Kit)Four metal clevises (VS1 K
135. Next slide the short length of fuel line over the clevis so as not to forget it. Temporarily slide the clevis over the metal cable and attach to
14TAPING THE RADIO BOX LID1. Start at the back of the radio box. Place tape so that half is on the clear plastic top and the rest hangs over the side.
153. Wipe the cowl down with isopropyl alcohol to remove any fi ngerprints or other oils. Allow the alcohol to completely evaporate.4. Prime the cowl
16CARE AND MAINTENANCE• If you should happen to drip or spill fuel on the fi nish of your VS1, carefully wipe it off as soon as you can. Some fuels, e
17The propeller is probably the most important aspect of how fast your boat goes and or how well it handles. A poor handing, slow boat can become an i
™Precision Prop BalancerPrecision Prop BalancerPrecision Prop BalancerPrecision Prop BalancerTo maximize performance — and minimize damage to on-board
Stock # Description Type Diameter Pitch Bore Octura Equivalent Prather EquivalentAQUB9715 40 x 53 2-Blade 40mm 53mm 3/16" 440 215AQ
ITEMS INCLUDEDWARRANTY 1. VS1 Hull and Cowl 2. Throttle Outer Pushrod Tube 3. Throttle Cable (Gold) 4. Rudder Cable (Silver) 5. Screw Bag 6. Ante
COPYRIGHT © 2008COPYRIGHT © 2008AQUB0006MNL v1.0AQUB0006MNL v1.0
3INTRODUCTIONThank you for purchasing the AquaCraft™ VS1! We want the time you spend with your new R/C boat to be fun and successful so please fully r
44PARTS NEEDED TOCOMPLETE YOUR VS1RADIO SYSTEM:• Futaba® 3PM 2.4GHz Transmitter, Receiver and Switch Harness (FUTK2020) OR Futaba 4PK 2.4GHz Transmit
5ASSEMBLYINSPECT THE HULL1. Check the hull for any open gaps in the seams. We have done our best to make sure the seams are closed, but it is still ne
6If your boat’s sponsons are not parallel to each other, you will have to decide which sponson needs to be changed. I like to pick the sponson that is
7box using four of the 2 x 8mm wood screws. Be careful not to get any silicone sealer into the small holes in the output that the cables pass through
83. Carefully reinstall the Futaba servo wheel back over the top of the pull-pull wheel and reinstall the screws and nuts. You can place a small dab o
9INSTALLING THE ENGINEParts and tools you are going to need:EngineFour 6-32 x 1" Socket head bolts (VS1 Kit)Four #6 washers (VS1 Kit)Metal backin
Related products and manuals for Water equipment Aquacraft VS1
 (16 pages)
© 2020, manymanuals.com. All rights reserved. | 1.262 s |
 Manymanuals.com
 Manymanuals.de
 Manymanuals.fr
 Manymanuals.it
 Manymanuals.pl
 Manymanuals.cz
 Manymanuals.es
 Manymanuals-pt.com
Comments to this Manuals